Basic example how to code a Image button in PyQt
You can subclass QAbstractButton and make a button of your own. That’s not a super easy way, but it gives you a lot of control. You can add second pixmap and draw it only when the mouse pointer is hover over button. You can change current stretching behavior to the centering one. You can make it to have not a rectangular shape and so on.
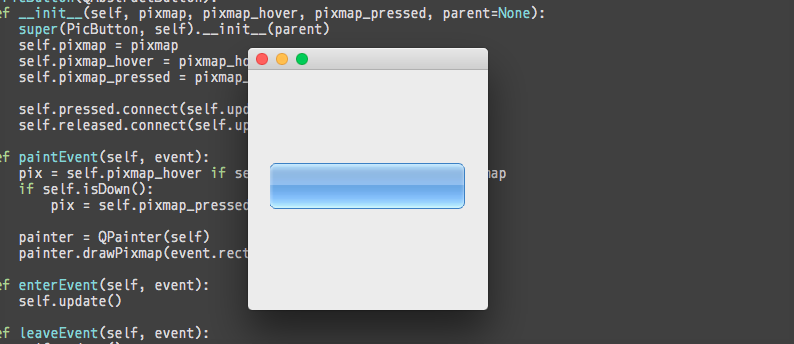
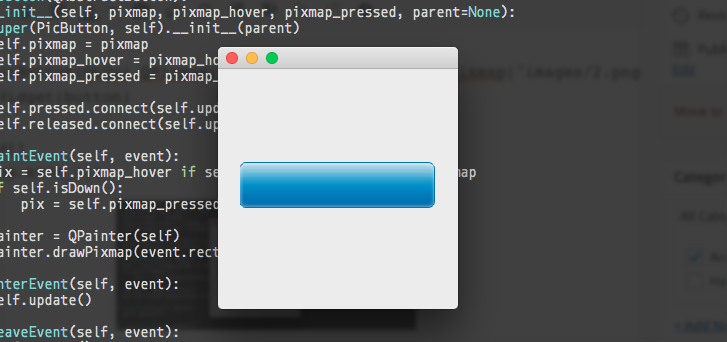
Button that changes images on mouse hover and when pressed
import sys

from PyQt4 import QtCore, QtGui
from PyQt4.QtCore import *
from PyQt4.QtGui import *


class PicButton(QAbstractButton):
    def __init__(self, pixmap, pixmap_hover, pixmap_pressed, parent=None):
        super(PicButton, self).__init__(parent)
        self.pixmap = pixmap
        self.pixmap_hover = pixmap_hover
        self.pixmap_pressed = pixmap_pressed

        self.pressed.connect(self.update)
        self.released.connect(self.update)

    def paintEvent(self, event):
        pix = self.pixmap_hover if self.underMouse() else self.pixmap
        if self.isDown():
            pix = self.pixmap_pressed

        painter = QPainter(self)
        painter.drawPixmap(event.rect(), pix)

    def enterEvent(self, event):
        self.update()

    def leaveEvent(self, event):
        self.update()

    def sizeHint(self):
        return QSize(200, 200)


app = QApplication(sys.argv)
window = QWidget()
layout = QHBoxLayout(window)

button = PicButton(QtGui.QPixmap("images/1.png"), QtGui.QPixmap("images/2.png"), QtGui.QPixmap("images/3.png"))
layout.addWidget(button)

window.show()
sys.exit(app.exec_())


Читайте також:
- Проксі моделі Django
- {% TREE %}: Дерева в django-шаблонах
- Ordering related objects in Django
- Python and lists:flatten. Such as in Erlang
- MemcachedKeyLengthError: Key length is > 250
- How to expire session on browser close in django
- Retrieving elements in a specific order in django
- WebSockets in Python
- Django admin filter by ranges of dates with calendar